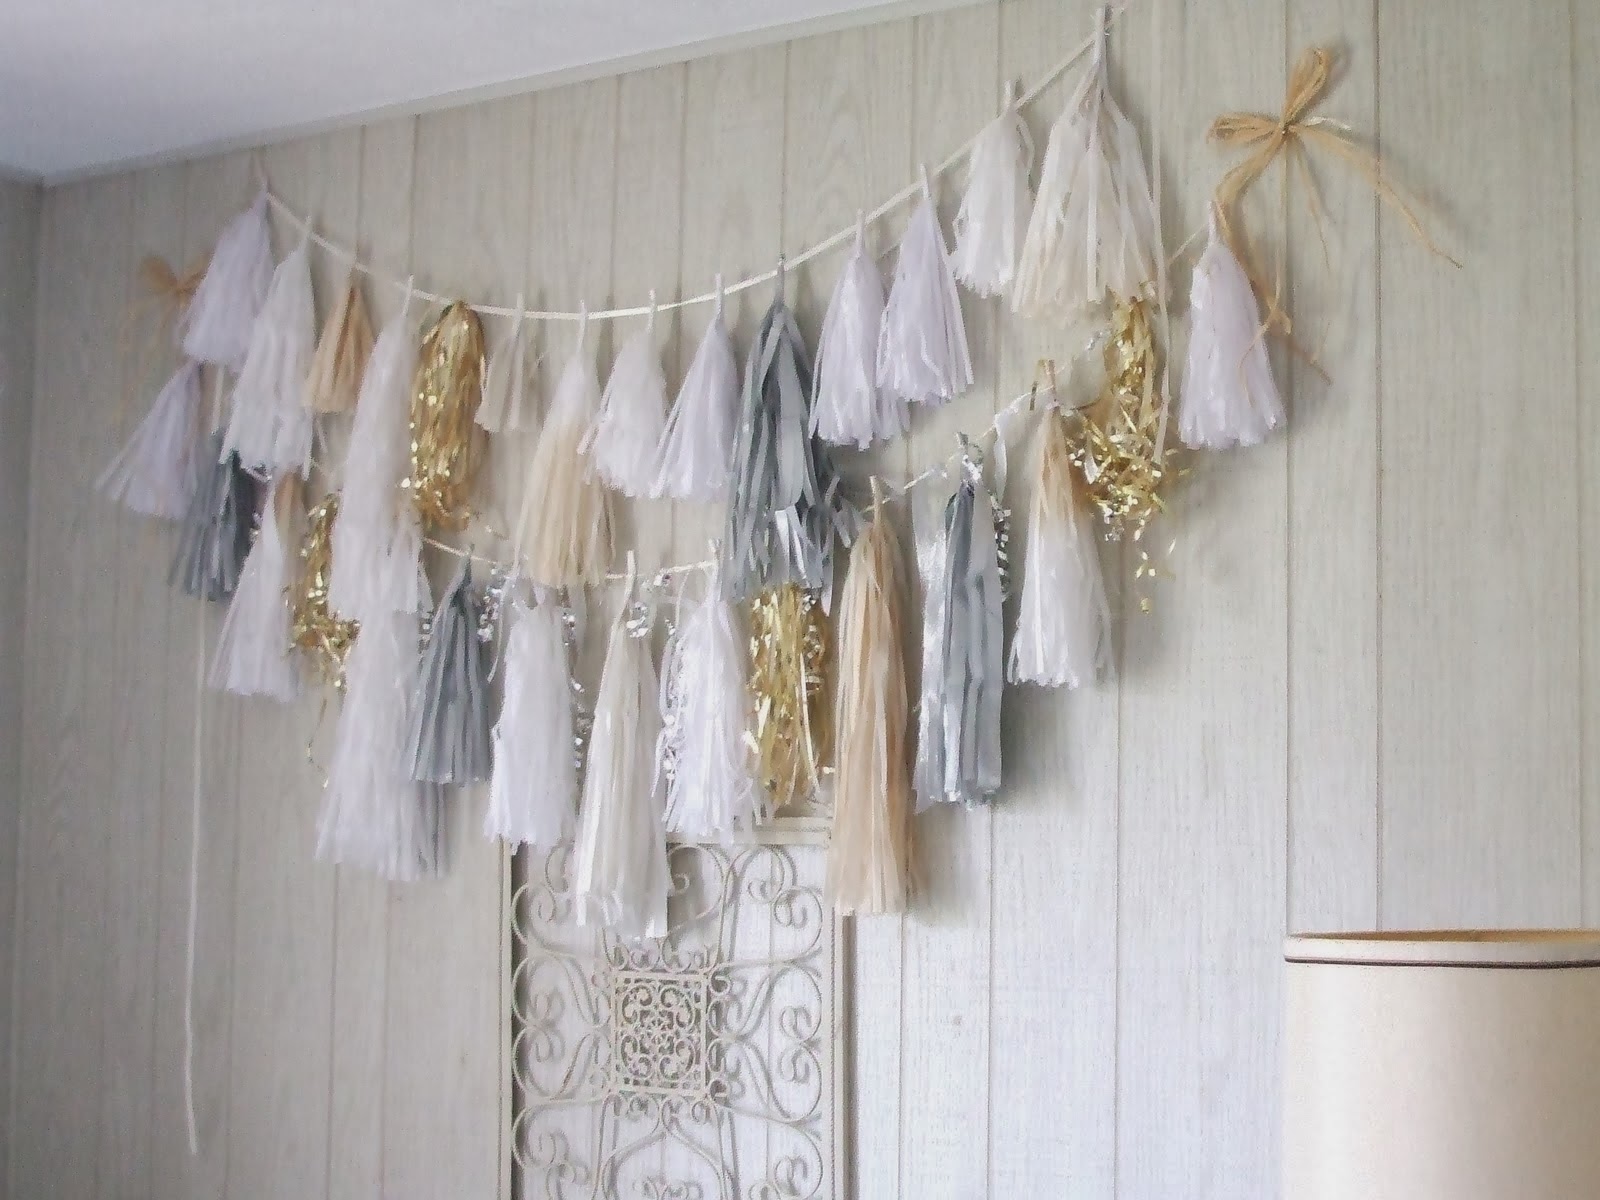
So my Year 12 formal (or Senior Prom, for those Americans out there) has come and gone but the memories are here to stay. On the day my friends all came over to my house before hand for 'Pre's', were we took photos, fangirled over each others dresses and basically got ready for the amazing night!
So being my typical self, I wanted to make by backyard look really nice and pretty for the night. So essentially my vision for my backyard was to be covered in pastel paper tissue tassels and flowers, paper garlands and the like.
On my googling adventure I discovered that you can buy paper tassels from a very snazzy company called the "Confetti System". They sell them for $130 for 12…they were pretty but not worth the amount of clothes I could buy for that. So I hopped onto Youtube and discovered how I could make some myself. I used a video from Kin Community and from a few blogs to get a general idea of how to make them, most people used hot glue guns, but AINT NOBODY GOT TIME FOR DAT, so I developed my own method. So without further ado, this is how I made my Paper Tassels inspired by the Confetti System.

What you are going to need:
 - Tissue paper - I used the colours gold, silver, baby pink, orange and light turquoise blue
(Depending on how thick you want your tassel, 1 piece makes a 1 good sized plump tassel whereas if you cut it in half it'll be a bit skinnier)
- Scissors
- Sticky tape
- Twine
Method
1. Get one piece of the tissue paper and fold it in half, lengthways.


2. Then widthwise and once again widthwise.
3. Once you have folded the tissue paper cut up the side of the paper. This makes it easier to sperate the pieces after you've cut the tassels.


4. Now you should now have something that looks like the picture below:
5. Then take the top of the piece of tissue and fold down the top so you know when to stop cutting the tissue paper so we can roll up the tassels later.
6. Now you can go ahead and cut your tassels! -make sure before you start cutting you have folded the top of the tissue paper so you know where to stop cutting! You can make the size of the strips to your liking but I went for about half a centimetre each (and don't worry if they look a little messy, when it all comes together you won't even be able to notice it!).

7. Now take the tissue paper and unfold it so you have a middle part that hasn't been cut and the sides are in strips.
8. This step is when it really starts looking like we want it too! Oh and if you have more than two sheets separate them!
9. Then roll it up from the end
10. Then when it starts to look like this:
11. Twist it tight so it looks like handle bars:
12. When you have twisted it as much as you can twist it then make it into a horseshoe shape and tape it together. Make sure the hole is big enough for the twine to be thread through!
13. Then you can thread the twine through the hole and tie it off.

Then once you have your fist few done you can make other colours
And wallah you're done!
Sarah x
WebRep
currentVote
noRating
noWeight


No comments:
Post a Comment